
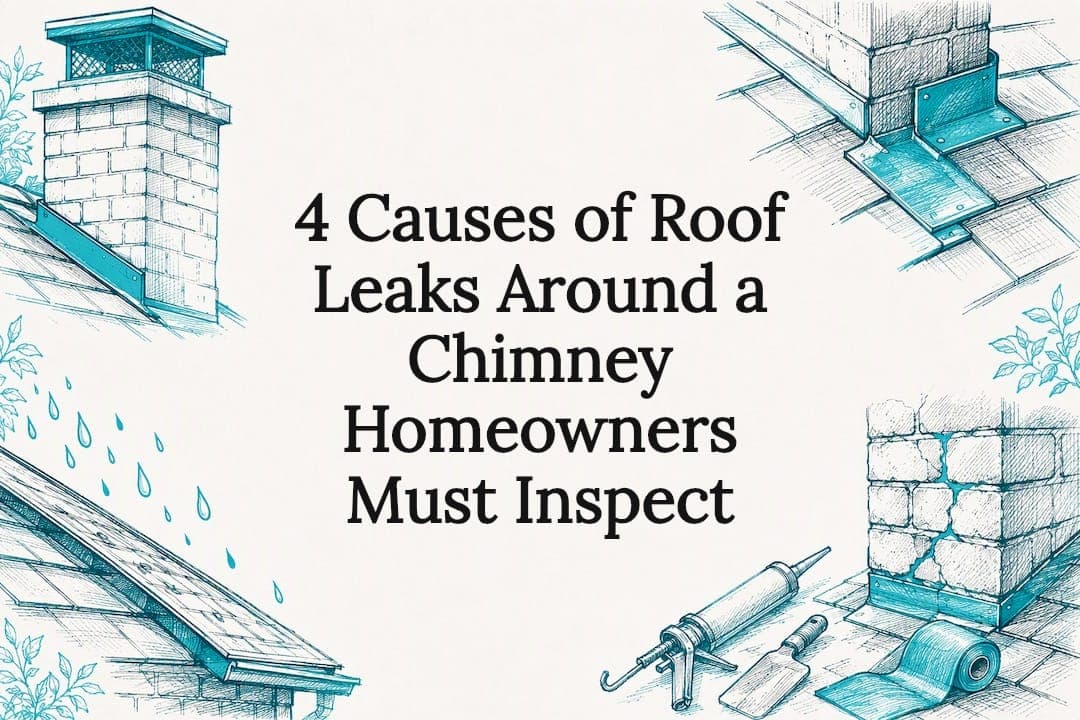
Most leaks around a chimney trace back to one of four problems: failed flashing, a cracked crown, deteriorated mortar joints, or a missing cricket on a wide chimney. If water is actively coming in, put down buckets or towels first, then check the attic near the chimney base for wet insulation or dark rafters. Photograph everything before you touch it, and cover any exposed exterior gaps with a tarp if it's safe to do so.
TL;DR:
- Most chimney leaks originate from failed flashing, cracked crowns, deteriorated mortar joints, or missing cricket on wide chimneys.
- Proper diagnosis requires attic inspection, tracing water paths, and testing with a hose to identify specific failure points on the roof.
- Temporary fixes include tarps, patches, or sealants, but these do not address underlying issues and are only stopgaps.
- Permanent repairs involve replacing or repairing flashing, crowns, mortar joints, or installing a cricket, depending on the failure cause.
- Insurance typically covers sudden storm damage but excludes gradual wear, so detailed documentation is essential for claims.
Table of Contents
- What Causes a Roof Leak Around a Chimney?
- How Do You Diagnose a Roof Leak at the Chimney?
- Temporary Fixes to Stop a Chimney Leak From Getting Worse
- What Does a Permanent Chimney Flashing Repair Involve?
- Budget Roofing & Siding's Approach to Chimney Leak Diagnosis
- Get a Chimney Leak Inspection From Budget Roofing & Siding
- Where to Verify Chimney Flashing and Insurance Guidance
- Sources
- FAQ
What Causes a Roof Leak Around a Chimney?
Flashing failure is the most common culprit, and it's rarely one piece of metal. A proper chimney flashing system uses base flashing, step flashing woven into the shingle courses, and counter-flashing embedded directly into the mortar joints above it. When any one of those three layers rusts through, pulls loose, or was never installed correctly, water gets behind the flashing system and follows the path of least resistance straight into your attic.
A cracked or crumbling chimney crown is the second big one. The crown is the concrete cap on top of the masonry stack, and it's supposed to shed water away from the flue and down the sides. Once it cracks, rainwater seeps into the masonry itself and travels down behind the flashing, showing up as a leak that seems to have nothing to do with the crown at all.

Mortar joints deteriorate for the same reason concrete crowns crack: freeze-thaw cycling, sun exposure, and decades of weather wear the material down. Loose or missing bricks let water soak straight into the chimney structure, and from there it finds gaps in the flashing or runs down the interior of the chase.

Wide chimneys have their own failure point. Building codes call for a cricket, or saddle, on the uphill side of any chimney wider than 30 inches measured across the slope. Without one, water pools against the back of the chimney every time it rains, and that standing water eventually finds a way past even good flashing.
A few less obvious causes round out the list:
- A missing or damaged chimney cap letting rain fall straight down the flue
- Condensation inside an unlined or oversized flue mimicking a leak
- Nearby roof penetrations (vents, skylights) misdiagnosed as chimney leaks because the water travels sideways before it drips
How Do You Diagnose a Roof Leak at the Chimney?
Start inside, not on the roof. Water often travels along rafters and insulation before it drips, so a ceiling stain six feet from the chimney doesn't mean the entry point is six feet away. Follow this sequence:
- Check the attic first. Look for wet or compressed insulation, dark or stained rafters, and any visible water trail near the chimney chase.
- Trace stains uphill. Follow the wet path toward the roofline and note exactly where it meets the chimney structure, not just where the ceiling stain appears below.
- Inspect the exterior from a ladder, if you're comfortable doing so. Look for rusted or lifted flashing, gaps at the counter-flashing line, cracked or spalling crown concrete, and shingles that have pulled away from the chimney's edges.
- Run a controlled hose test. Has someone inside the attic while you wet one section of the chimney at a time, starting low and working up, waiting several minutes between sections to see where water shows up.
- Stop and call a professional if you can't safely access the roof, if the damage looks extensive, or if you suspect the leak has reached electrical wiring or structural framing.
Pro Tip: Test one side of the chimney at a time during a hose test. Soaking the whole thing at once tells you water got in, but it won't tell you which flashing section actually failed.
If your roof pitch is steep, your chimney sits more than one story up, or you don't own a stable extension ladder, skip the exterior check entirely and go straight to a professional inspection. A misstep on a wet or pitched roof isn't worth the diagnosis.
Temporary Fixes to Stop a Chimney Leak From Getting Worse
Inside the house, your first job is limiting damage, not fixing the roof. Collect standing water, pull out any insulation that's fully soaked (wet insulation stops working and starts growing mold), and photograph every wet spot and stain before you clean up. A box fan or dehumidifier pointed at the affected area for 24 to 48 hours cuts down on secondary damage while you wait for repairs.
Outside, your options are limited and genuinely temporary:
- A tarp anchored above the leak point and weighted down at the edges, never nailed directly through healthy shingles
- Peel-and-stick roofing membrane patches over small gaps in flashing
- Flexible elastomeric sealant applied to cracks in the crown or gaps at the counter-flashing line
None of these last. Contractors often reach for sealant because it's cheap and fast, but it shrinks and cracks within a season or two, and it was never designed to replace properly layered metal flashing. Treat every tube of sealant as a stopgap, not a repair. If you get on the roof at all, wear rubber-soled shoes, work with a partner who knows where you are, and get off immediately if the surface is wet or the pitch feels too steep to stand on comfortably.
What Does a Permanent Chimney Flashing Repair Involve?
The lasting fix always matches the cause. Flashing problems get new flashing, not more caulk.
- Full flashing replacement: base flashing goes down first, step flashing gets integrated into the shingle courses one piece per course, and counter-flashing is cut into a fresh mortar joint and sealed at the top edge. FEMA's guidance stresses tying flashing into the roof's water-control layer rather than treating it as a surface patch.
- Crown repair or replacement: small cracks can sometimes be sealed with a crown coating; a badly deteriorated crown gets torn off and rebuilt, often paired with a new chimney cap to keep rain out of the flue going forward.
- Tuckpointing: crews grind out failing mortar joints and repack them with fresh mortar, and any spalling or cracked bricks get replaced during the same visit.
- Cricket installation: required by code once the chimney's uphill width passes 30 inches, and it's one of the most commonly skipped repairs on older homes because it wasn't required when the chimney was originally built.
- Reroof coordination: if you're replacing the roof covering anyway, that's the moment to redo the flashing system entirely rather than reinstalling old flashing under new shingles.
Costs swing based on how much has to come apart. A straightforward re-flashing job is far cheaper than a job that also requires crown rebuild, repointing, and cricket installation. Get a written estimate that itemizes each repair separately so you can see what's driving the price.
On insurance: most policies cover chimney flashing damage caused by a sudden event like a storm, hail, or falling debris, but exclude damage from gradual wear like dried sealant, rusted flashing, or crumbling mortar that simply aged out. That distinction is usually the whole claim.
Budget Roofing & Siding's Approach to Chimney Leak Diagnosis
Chasing a chimney leak with more sealant is how a $400 problem turns into a $4,000 problem. Budget Roofing & Siding treats mechanical flashing, not caulk, as the default answer, because a professional report that separates storm damage from age-related wear is often the deciding factor in whether an insurance claim gets approved.
A written inspection report worth keeping should include dated photos of the flashing, crown, and mortar joints; a plain-language explanation of what caused the leak; a specific recommended repair, not a vague "reseal as needed"; and a line-item estimate you can hand to an adjuster or compare against a second bid. Anything less leaves you guessing during a claims conversation.
Get a Chimney Leak Inspection From Budget Roofing & Siding
If water is actively coming through your ceiling or you can see daylight-sized gaps in the flashing from the ground, that's a professional-inspection call, not a wait-and-see situation. Routine maintenance checks, on the other hand, fit fine on a seasonal schedule, usually spring and fall, to catch small cracks before they become active leaks.
Before you schedule an estimate, gather what you have: photos of the damage, the approximate date of the storm if one caused it, and any prior inspection reports from a previous owner or contractor. Estimates with a Best Price Guarantee are offered, and homeowners are encouraged to compare multiple quotes before deciding. Professional assistance with insurance documentation and claim conversations can be important when proving storm damage versus normal wear.
Start with a free roofing inspection if the chimney is the concern, or check out siding repairs if water has reached the exterior wall finish near the chimney chase. For insurance-specific questions, the insurance claims guidance page walks through what to expect before you file.
Where to Verify Chimney Flashing and Insurance Guidance
For code-level detail on flashing layers and cricket requirements, see the Building America Solution Center. For insurance basics on covered perils versus wear exclusions, see Lifetime Xteriors' claims FAQ.
Sources
- Chimneys connected to roof structure | Building America Solution Center
- FEMA guidance and publications on roofing and waterproofing
- Chimney flashing leak roof insurance coverage | Lifetime Xteriors
FAQ
Will Insurance Cover a Leak Around a Chimney?
It depends on the cause. Insurance typically covers chimney flashing damage from a sudden event like a storm or hail impact, but most policies exclude damage from gradual wear, such as rusted flashing or dried-out sealant. A written inspection report that documents which category applies is usually what settles the claim.
How Can I Fix a Roof Leak Near My Chimney?
Start with an attic check to find where water is actually entering, since the leak point and the ceiling stain aren't always in the same spot. Temporary fixes like a tarp or peel-and-stick patch can hold until a professional replaces the flashing with a proper base, step, and counter-flashing system.
How Much Does It Cost to Fix a Chimney Leak?
Cost depends heavily on scope: a simple re-flashing job costs far less than one that also requires crown rebuild, repointing, or cricket installation. Budget Roofing & Siding provides free estimates with a Best Price Guarantee, so pricing is available once a technician sees the specific damage.
How Do You Seal a Roof Near a Chimney?
Sealant can buy you a few weeks by filling small cracks in a crown or gaps at the counter-flashing line, but it shrinks and cracks within a season or two. The lasting fix is mechanical: layered flashing tied into the shingles and embedded into the mortar joints, not a bead of caulk.
Why Does My Chimney Leak Only During Heavy Rain or Winter?
Freeze-thaw cycles widen small cracks in the crown and mortar over a winter, and heavy or wind-driven rain pushes water past flashing gaps that a light drizzle never reaches. Ice damming near the chimney base can also force water backward under shingles that would otherwise shed rain fine.